HAND Series - Article 3 - Proxmox Installation and PCI Passthrough preparation

HAND - Article 3 - Proxmox Installation and PCI Passthrough preparation
- First step is going to https://www.proxmox.com/en/downloads and downloading the ISO
-
Put that ISO in the Ventoy USB Stick
- Alternatively if you haven’t done the Ventoy part, you could burn the ISO in an USB stick with your preferred software (Gnome utils, Rufus, whatever you like)
- Shutdown your machine and enter in the BIOS
- Change the Boot priority to put the USB stick in first place
- Exit saving changes
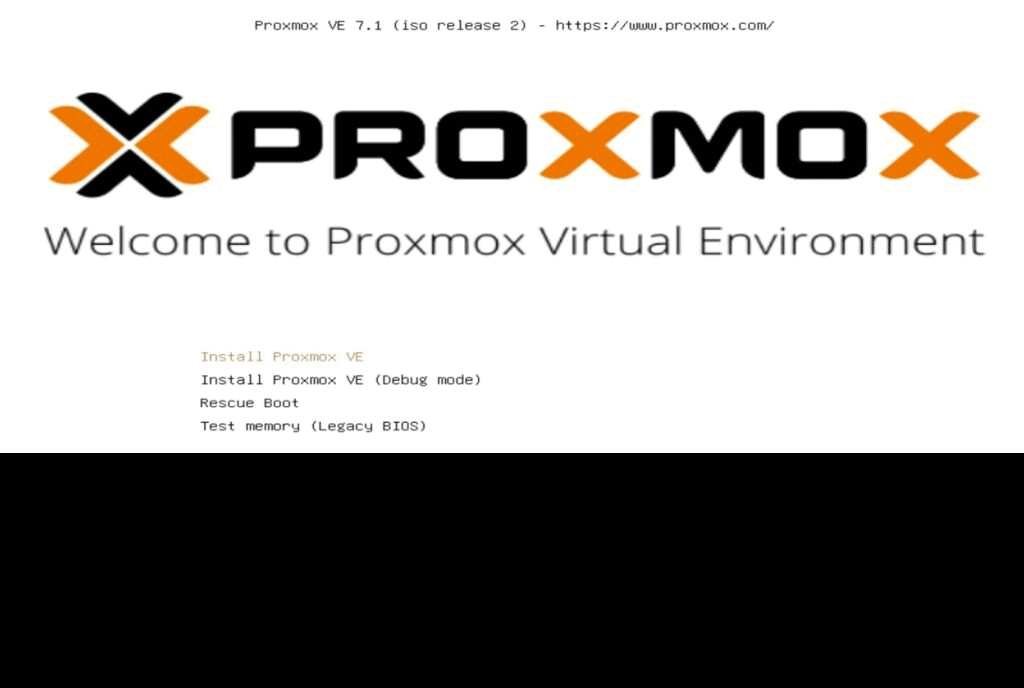
- You will get to the Proxmox installation screen
I will show the process in a gif below, is pretty straight forward, the only part that needs human interaction is the creation of the root password and the locale settings ( Where you live ) for the time-zone and date.
You can tweak also the storage with different filesystems like zfs but this won’t be covered in this series, as it is a more complex topic and it depends strongly on your available hardware. For beginners LVM is more than enough and is enabled by default.
After installing Proxmox the initial screen after boot will be a URL with the management GUI. It will look like this https://10.10.10.20:8006
First steps in Proxmox
- Enter in the management GUI and login with root as a user and your password
- You will be greeted with an annoying message claiming you don’t have a subscription
- Click in the left in the hostname of your machine, then SHELL
-
(Optional) If you were annoyed by the message you got during login, run this one-liner and it will fix that, by removing it from the frontend files and restarting the service
sed -Ezi.bak "s/(Ext.Msg.show\(\{\s+title: gettext\('No valid sub)/void\(\{ \/\/\1/g" /usr/share/javascript/proxmox-widget-toolkit/proxmoxlib.js && systemctl restart pveproxy.service
-
You need to change the repositories to point to the ones without subscription if you don’t have one, so in the same shell do the following:
root@proxmox:~# nano /etc/apt/sources.list # enter below line and save and exit deb http://download.proxmox.com/debian bullseye pve-no-subscriptionroot@proxmox:~# nano /etc/apt/sources.list.d/pve-enterprise.list # comment out (add a # symbol in front) of this line: # deb https://enterprise.proxmox.com/debian bullseye pve-enterprise
-
After updating the repositories we can run the following one-liner to update and upgrade all the packages and clean-up after that:
apt update && apt upgrade -y && apt dist-upgrade -y && apt autoremove -y && apt autoclean -y
At this point we have a clean Proxmox 7 installation, which is great, we are prepared for Virtualizing, having backups and much more enterprise-grade features that come built-in with Proxmox.
As a side comment, everything regarding virtualization in Proxmox, can be done from the GUI, or from the shell with commands. For some tasks there are no options for things you could do from the command line, so have in mind that if you need something specific you can’t find in the GUI ( there won’t be much of those cases! ) you can still investigate and for sure find a way to do it through the command line.
PCI Passthrough Preparation
Enabling from the BIOS the IOMMU option was the first step for this preparation, If you haven’t checked or done the prerequisites I encourage you to go check them out and come back after you make sure you got them covered.
-
Configuring Grub
nano /etc/default/grub
-
Look for this line:
GRUB_CMDLINE_LINUX_DEFAULT="quiet"Then add the following to it:
-
For Intel CPUs:
GRUB_CMDLINE_LINUX_DEFAULT="quiet intel_iommu=on" -
For AMD CPUs:
GRUB_CMDLINE_LINUX_DEFAULT="quiet amd_iommu=on"
-
Here are my grub command line settings:
GRUB_CMDLINE_LINUX_DEFAULT="quiet pci=realloc amd_iommu=on video=efifb:off"The additional video=efifb:off was added because of difficulties with the Passthrough working, which means the GPU was being used by the Proxmox machine instead of Proxmox ignoring it and letting it be used from the VM we will assign it to later. Also, you may need to comeback a couple of times here and tweak things, add others and repeat the whole process with grub to match your perfect configuration, every machine is different and behaves differently so you may need to add some more flags here.
-
When you finished editing /etc/default/grub run this command:
update-grub
-
VFIO Modules
nano /etc/modules
-
Copy and paste to the /etc/modules file:
vfio vfio_iommu_type1 vfio_pci vfio_virqfd - Then save and exit.
-
IOMMU interrupt remapping
echo "options vfio_iommu_type1 allow_unsafe_interrupts=1" > /etc/modprobe.d/iommu_unsafe_interrupts.conf echo "options kvm ignore_msrs=1" > /etc/modprobe.d/kvm.conf - Blacklisting Drivers
-
For the Proxmox host to not utilize our GPU, we need to blacklist the drivers. Run these commands in your Shell:
echo "blacklist radeon" >> /etc/modprobe.d/blacklist.conf
echo "blacklist nouveau" >> /etc/modprobe.d/blacklist.conf
echo "blacklist nvidia" >> /etc/modprobe.d/blacklist.conf
- Adding GPU to VFIO
-
Run this command:
lspci -v
From all the information displayed you should look for the one containing your Graphics Card (GPU) and Audio device also corresponding to your GPU, it should look like this:
01:02.0 VGA compatible controller: NVIDIA Corporation GA106 [GeForce RTX 3060 Lite Hash Rate] (rev a1) (prog-if 00 [VGA controller])
01:02.1 Audio device: NVIDIA Corporation GA106 High Definition Audio Controller (rev a1)
Write down the first set of numbers (e.g. 01:02.0 and 01:02.1). You are going to need them later.
This set of numbers can contain letters so don’t panic if your sets are something like 2d:00.0 or something similar.
-
Now run this command with your set
lspci -n -s 01:02
You are going to get some ID numbers that will look like this:
01:02.0 0000: 10ce:1w81 (rev a1)
01:02.1 0000: 10ce:11f8 (rev a1)
You want to write down these vendor id codes: 10ce:1w81 and 10ce:11f8
-
Now you need to add the GPU's vendor id's to the VFIO options (replace the id's with your own):
echo "options vfio-pci ids=10ce:1w81,10ce:11f8 disable_vga=1"> /etc/modprobe.d/vfio.conf -
Finally run this command:
update-initramfs -u -
And restart:
reset
Now we have prepared our Proxmox machine for PCI Passthrough and also have done a little bit of house-keeping. Is time to install our Windows VM who will use the machines GPU and have native-like performance!
If you’ve done all this so far, jump into the next article and continue your journey with me towards your dream homelab.
Thank you for being here, be healthy, happy and productive! ✌🏻